Organize Wedding Videography Footage Archives
Streamline your wedding video archive. Learn how to organize raw clips, automate tagging, and export cut lists using local-first desktop tools.
Managing the post-production workflow for wedding videography is often the most chaotic part of the job. After a long day at the venue, you return with hundreds of gigs of footage, dozens of memory cards, and a tight deadline for the client preview. The traditional approach involves manually renaming files, scrubbing through timelines to find the perfect kiss or the best laugh, and maintaining separate spreadsheets to track what has been reviewed. This process is not only time-consuming but also prone to human error, leading to missed moments or lost files.
The solution lies in moving away from manual organization toward an intelligent, local-first archive workflow. By using dedicated desktop software, you can transform a disorganized pile of media into a searchable, structured library that accelerates your editing process. This approach ensures that your work stays on your machine, protecting client privacy while giving you the speed needed to turn raw clips into a polished wedding film.
Why Local-First Matters for Client Archives
In the wedding industry, client trust is paramount. Most videographers understand that sensitive content, such as intimate moments or security-sensitive venue data, should not be uploaded to third-party servers. However, many popular video management tools rely on cloud infrastructure, requiring accounts, internet connectivity, and data transmission.
A local-first workflow changes this dynamic. When you use a desktop application that processes files directly on your machine, the data never leaves your hard drive. This eliminates the security risks associated with cloud syncing and ensures compliance with data privacy expectations. For wedding videographers, this means you can archive years of projects without worrying about server costs, data breaches, or dependency on internet bandwidth during on-site editing.
You can learn more about the privacy benefits of this approach on our main site, where we detail how local processing works. By keeping files local, you also maintain full control over your backups. You can copy your archive to an external drive at the end of each day without worrying about sync conflicts or file versioning issues that plague cloud-based systems.
Automating Organization with Smart Tags
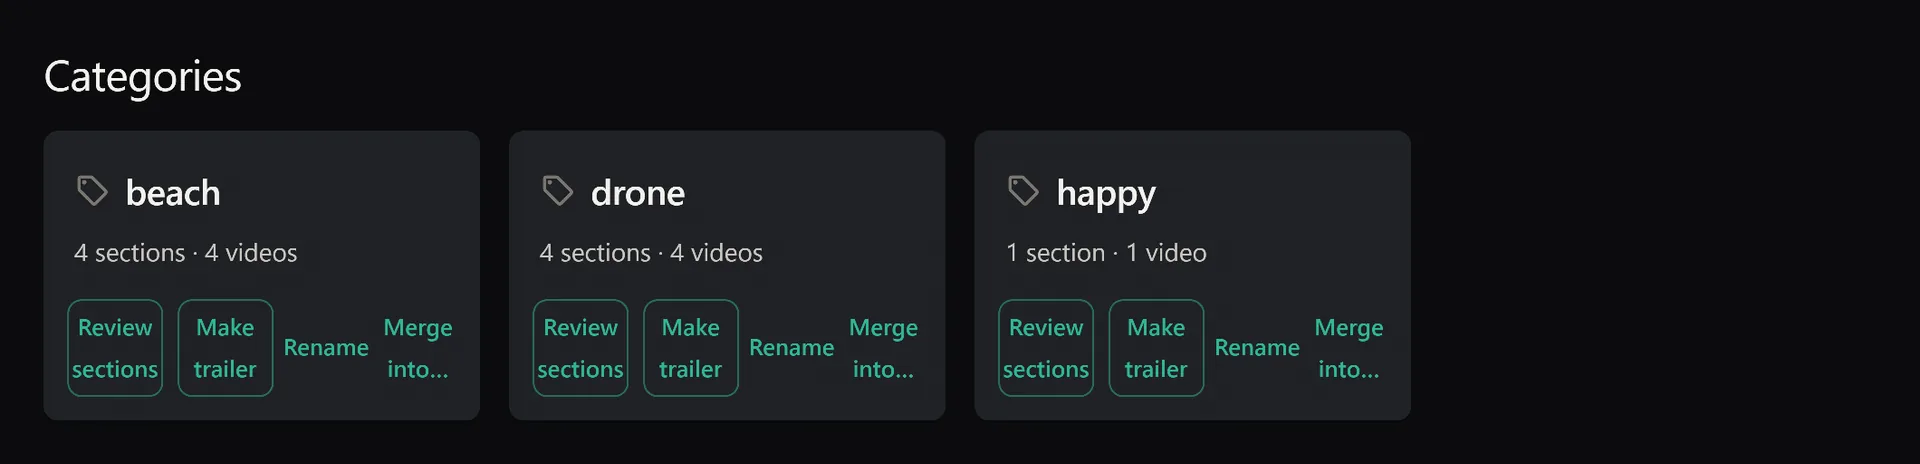
The most time-consuming aspect of archiving wedding footage is the initial organization. You have clips from the ceremony, the first dance, the speeches, and the after-party, all mixed together. Manually categorizing each file is tedious and inconsistent.
A modern archive workflow uses smart tags derived from the file system. Instead of typing metadata into every file, the software analyzes filenames and folder structures to create searchable tags. For example, if you save your ceremony clips in a folder named "01_Ceremony," the software automatically applies a tag for "ceremony." If your filenames include timestamps or camera IDs, these become searchable attributes as well.
This automation allows you to build a consistent naming convention and let the software do the heavy lifting. Over time, your archive becomes a structured database. You can define categories for different types of events, such as "vows," "ring exchange," or "exit," and map folder structures to these categories. This method ensures that even months or years after the wedding, you can instantly retrieve specific segments without hunting through files.
Explore the full list of organizational tools available in our features section to see how smart tagging integrates with your existing folder structure.
Speeding Up the Selection Process with Fuzzy Search
Once your footage is organized, the next challenge is finding the best clips. In a typical wedding, there might be multiple takes of the vows, several angles of the dance, and countless candid shots. Manually scrubbing through these clips to make a select list is inefficient.
Fuzzy search with boolean operators solves this by allowing you to query your archive with precision. You can search for clips that contain "vows" AND "rings" to find specific moments. You can exclude noisy segments by using NOT "mic feedback." The fuzzy nature of the search also helps if you have inconsistent naming conventions, it can find files even if the spelling isn't perfect.
This capability turns your archive into a query engine. Instead of browsing, you can command the archive to pull specific segments. For instance, you can pull every clip tagged "first dance" that also matches "camera-a" while excluding anything marked "rejected." This targeted approach ensures you only review the most relevant footage, significantly reducing the time spent on selects.
If you are curious about the search syntax, our FAQ page provides detailed examples of how to construct complex queries for specific editing needs.
Creating Loops and Pre-Editing with Section Markers
Finding the clips is only half the battle, knowing where the best moments start and stop is the other half. In post-production, you often need to loop specific segments to find the exact frame for a cut. Traditionally, this requires setting in and out points in your editing software, which is a manual and error-prone process.
A streamlined workflow uses A-B section loops to handle this within your archive tool. You can mark the start (A) and end (B) of a clip segment and loop it seamlessly. This is incredibly useful for reviewing critical moments like the kiss or the ring exchange. By looping these sections, you can identify the precise frames for your edit without committing to an entire project file in your non-linear editing system.
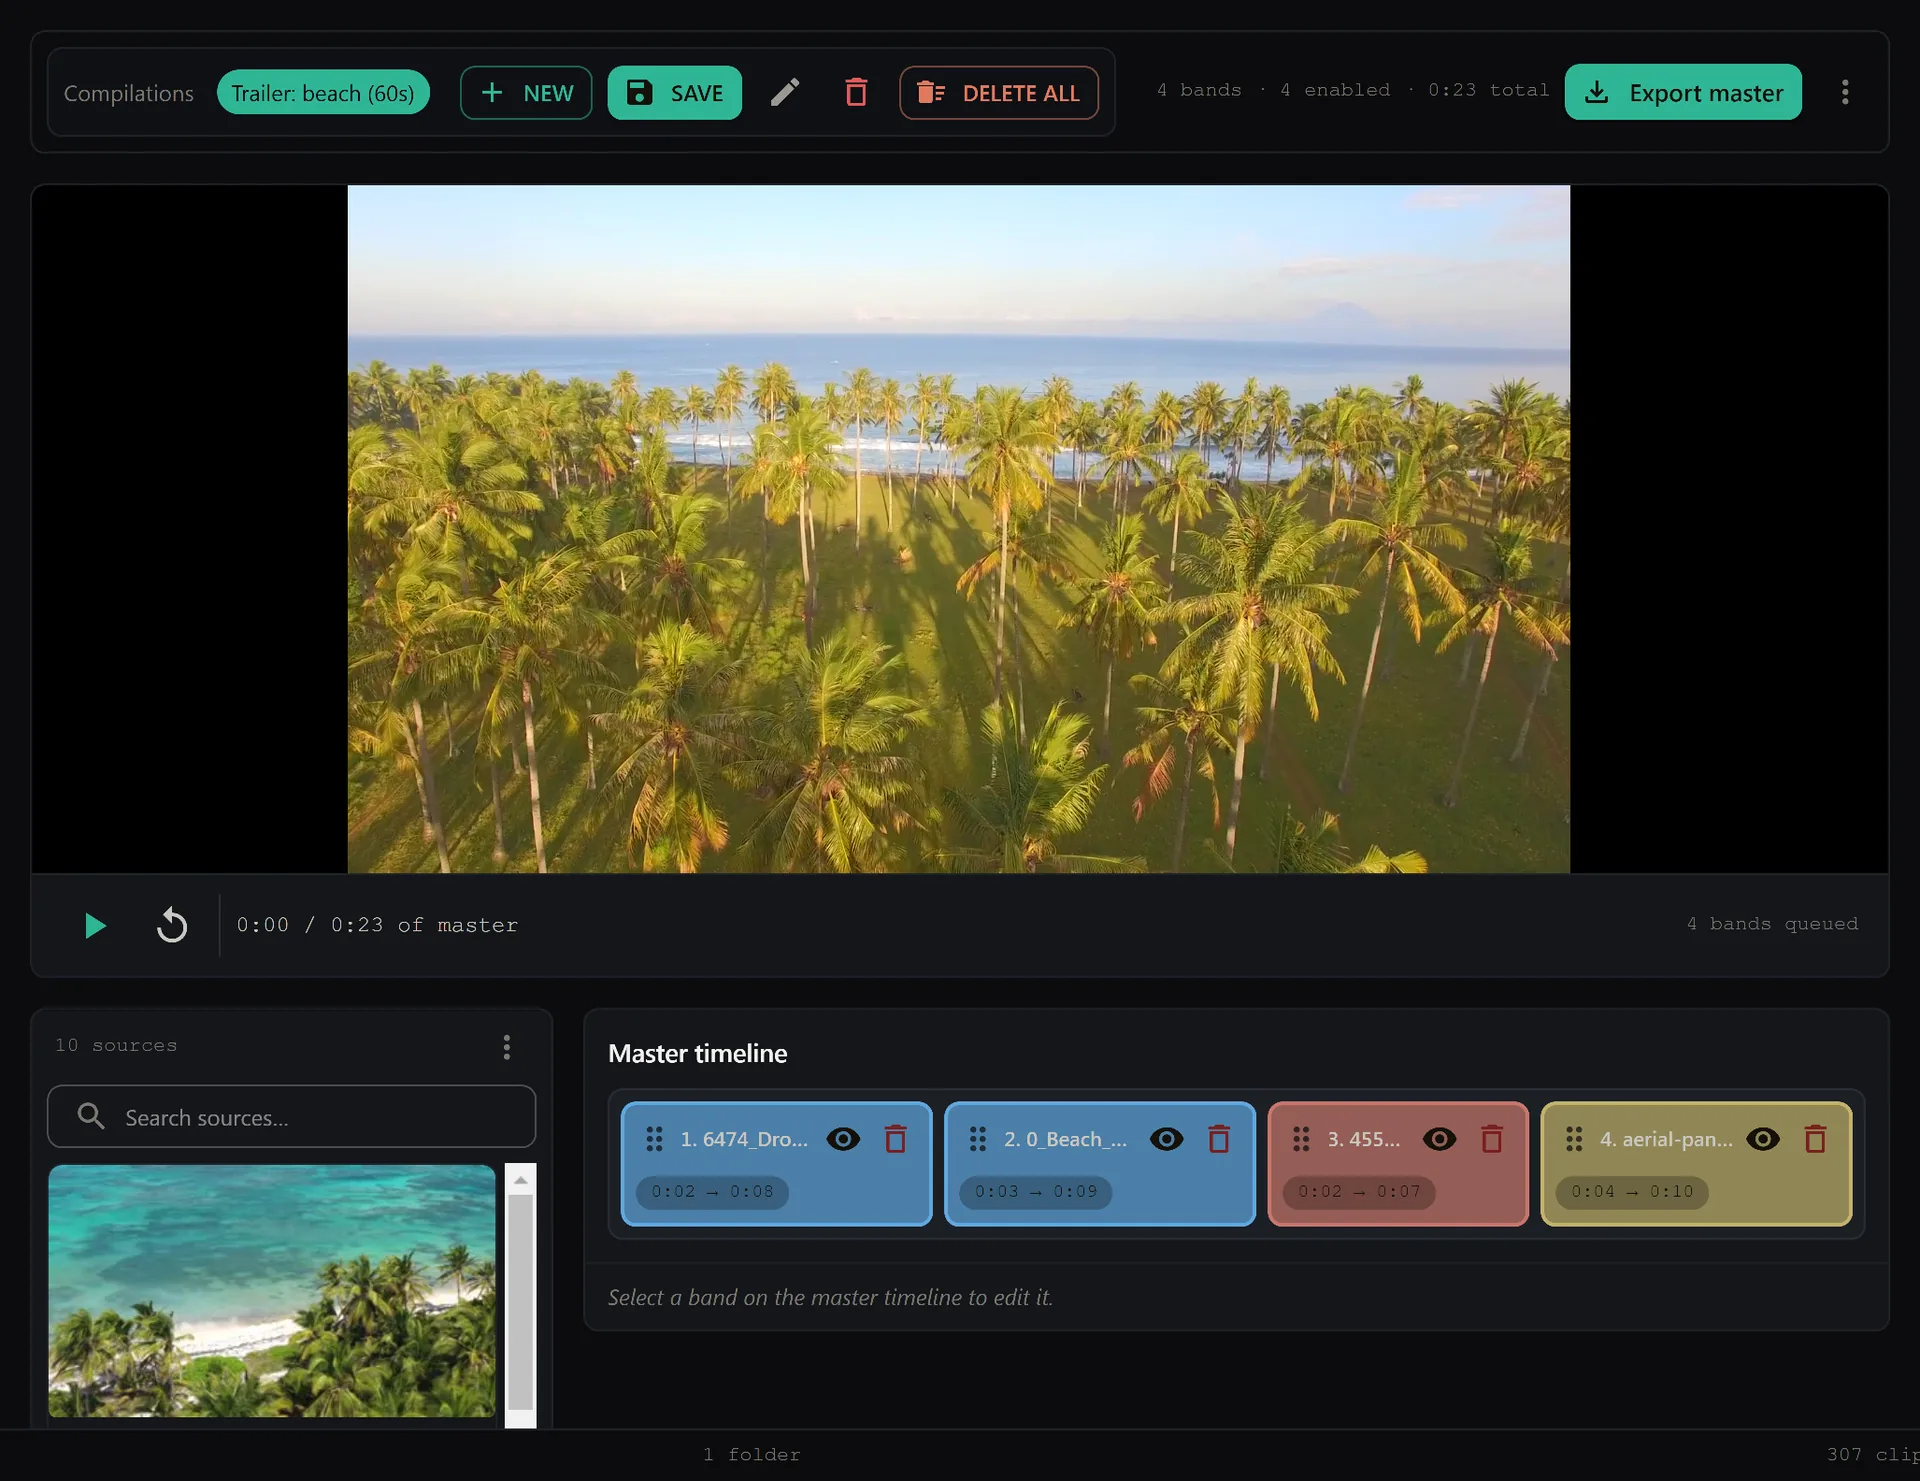
Once you have identified the best segments, you can create a list of these sections. This list acts as a pre-edit, or a "selects," that you can export. This ensures that when you open your editing software, you are only working with the essential clips, rather than importing terabytes of raw data.
Exporting Cut Lists for Seamless Editing
The final step in a robust archive workflow is moving your organized data into your editing software. Manually dragging and dropping files from a folder structure into a timeline is inefficient and often leads to broken links.
Instead, you can generate a cut list in a format that your editing software understands natively. For Premiere Pro users, this means exporting a Premiere XML file. For DaVinci Resolve users, it’s an EDL (Edit Decision List). These files contain the timecode, duration, and source information for every selected clip.
When you import this XML or EDL file into your editing software, it automatically builds a sequence with all your selected clips in the correct order. This eliminates the tedious process of manually placing clips on the timeline. You can then focus on the creative aspects of editing—pacing, color, and audio—rather than the technical aspects of file management.
You can see how this integration works with various editing suites in our features overview. This direct handoff saves hours of setup time on every project.
Implementing Your New Workflow
Transitioning to a local-first, automated workflow doesn't happen overnight. Start by organizing your current projects. Create a clear folder structure that separates events by date and type. Use consistent naming conventions for your files, including camera IDs and clip numbers.
Next, ingest your footage into your archive tool. Let the smart tags do their work, and verify that your categories are correctly mapped. Test your fuzzy search capabilities by querying for specific moments. Finally, practice creating A-B loops and exporting a cut list for a small project to get comfortable with the export process.
By adopting this workflow, you reduce the mental load of organization and focus more on storytelling. Your archive becomes a reliable, private, and efficient asset that grows with your business.
Ready to test this workflow on your next project? You can download SiftVid for Windows to start organizing your archives locally. If you have questions about specific file formats or integration steps, our pricing page also details the one-time purchase and the 7-day free trial, so you can try the full feature set before committing.
Keep reading
Folders vs Tags: Video Organization Strategy
Stop fighting nested folders. Learn how to use SiftVid’s smart tags and hybrid structure to scale your local video library efficiently.
Send Cut Lists to Premiere & DaVinci
Export Premiere XML and DaVinci EDL cut lists directly from your SiftVid library. See how to manage complex edits and deliver clean project files.